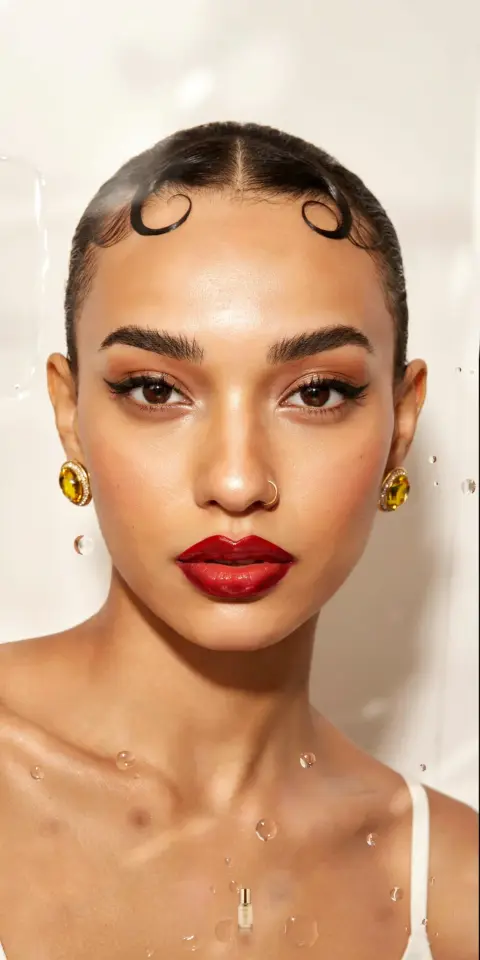
If you have ever stood in front of a red lipstick display feeling overwhelmed, you are not alone. Learning bold lip looks for beginners can feel intimidating, but with the right steps, anyone can master a red lip that stays sharp and smudge free. This guide will walk you through everything from choosing your shade to making it last all night. No prior makeup experience required, just a little patience and the right approach.
Why Red Lipstick Works for Every Skin Tone
Red lipstick is one of those rare beauty products that truly flatters everyone. The trick is finding the undertone that matches your skin. Fair skin usually looks best with blue based reds, which have a cooler tint. Medium and olive skin tones glow with true crimson or brick red shades that balance warmth.
Deep skin tones can pull off rich berry reds or burgundy reds with blue or purple undertones. If you are unsure, start with a neutral red that leans slightly cool. It is the most forgiving choice for a first bold lip. The goal is to pick a red that makes your teeth look whiter and your skin look brighter, not washed out.
Essential Tools for a Smudge Free Bold Lip
You do not need a professional kit, just a few basics. A good lip liner is your best friend for preventing bleeding and feathering. Lip balm keeps your lips hydrated so the color glides on smoothly. A flat lip brush helps with precise application, especially around the cupid’s bow.
- Lip liner in a shade close to your lipstick or nude
- Moisturizing lip balm applied 10 minutes before lipstick
- Concealer or foundation to clean up edges
- Setting powder for the blot and set technique
- Tissue paper for blotting between layers
Having these on hand will make your red lipstick application much smoother. Skip the expensive gadgets. A basic set like this works for any bold makeup look you want to try.
Step by Step: How to Apply Red Lipstick Without Smudging
Start with exfoliated lips. Gently rub a damp washcloth over your lips or use a sugar scrub to remove flakes. Apply a thin layer of lip balm and let it soak in while you do the rest of your face. Blot off any excess balm with a tissue so your lipstick has a dry base to grip.
Line your lips with a lip liner that matches your lipstick or is slightly darker. Start at the center of your upper lip and follow your natural shape. Do not overline unless you are experienced, beginners should stick to their natural lip line to avoid a messy look.
Fill in your entire lips with the liner first. This creates a base that makes the color last longer and prevents uneven fading. Then apply your red lipstick directly from the tube or with a brush for more control. Start in the center and work outward.
Blot your lips with a tissue, then apply a second thin layer. This layering technique is key for a long lasting finish. For extra insurance, hold a tissue over your lips and dust a tiny bit of translucent setting powder through the tissue. It locks the color without making it cakey.
Choosing the Right Red: Undertones and Finish
Red lipstick comes in different finishes, and each behaves differently. Matte reds stay put longer but can feel dry. Satin and cream finishes feel comfortable and are easier to apply for beginners. Glossy reds are fun but tend to smudge and transfer more, so they are better for quick photos or short nights out.
#boldlip #redlipstick #makeupguide #lipsticktutorial #boldmakeup
Leave a Comment