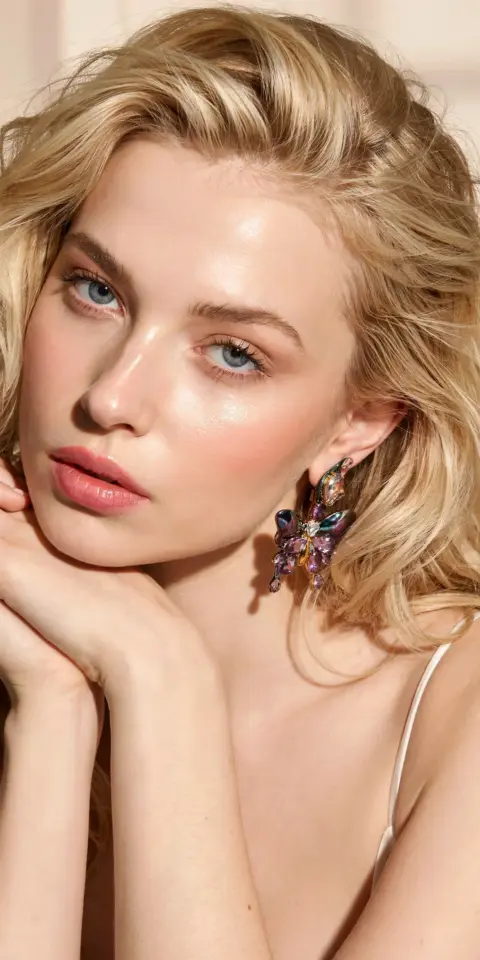
There’s a specific moment when you catch your reflection after swiping on a truly bold red lipstick, and the person staring back at you just looks more finished, more awake, somehow more like the main character of the afternoon. It’s a small transformation, but honestly, it can change your whole face. I’ve been meaning to write this breakdown for a while now, especially since a friend asked me last week if I had finally gotten lip filler, which I absolutely have not. This is simply a matter of technique, a decent lipliner, and a solid understanding of my own lip shape.
Most of us grew up watching supermodels with those naturally full, pillow-like lips, and then looked in the mirror wondering where ours went wrong. The truth is, very few people are born with a perfect, symmetrical pout. Most of us have an upper lip that’s a bit thinner, or a cupid’s bow that’s uneven, or a corner that droops slightly. The whole game of a bold lip look isn’t about changing what you have; it’s about working with the canvas while faking a little bit of volume using regular makeup. Absolutely no needles required.
Why Red Lipstick Instantly Changes Your Facial Proportions
Here’s the thing about high-contrast color: it draws the eye immediately. When you put on a neutral gloss, the light bounces off and your lips blend into the rest of your face. But a red lip creates a hard edge, which forces the viewer to focus on your mouth. This shift in attention makes your lips seem more dominant, even if they haven’t physically changed size at all.
It also has a sneaky effect on the rest of your features. That sharp line of red gives the illusion of brighter teeth, and it can even make your cheekbones look more defined by contrast. A big part of this transformation is psychological, too. When you know your mouth looks sharp and intentional, you hold your head differently. I know I tend to talk a little slower and smile a little wider, which honestly changes how my whole face sits.
The Overlining Technique Here Is Subtle, Not Instagram-Crazy
Ok so, let’s talk about overlining, because there is a right way and a very, very wrong way to do it. The wrong way is drawing a completely new lip shape that’s a millimeter away from your actual skin boundary, which just looks like a marker outline. The right way, and the way I did this makeup before and after, is to go outside your natural line only by the tiniest fraction of a centimeter, and only in certain spots.
My upper lip is naturally thinner than I’d like. I have very little volume right at the center, and the sides taper off quickly. Instead of tracing my entire lip, I focused only on drawing a slightly fuller cupid’s bow. Here is the breakdown of the difference:
- The natural lip edge: This is the color boundary, and it’s usually uneven.
- The overlined edge: This is drawn just past the natural skin-lip junction, perfectly smooth.
- The gradient: The liner is matte and sets the shape, while the lipstick fills the rest.
Never, ever overline the bottom lip. The bottom lip already has natural volume, and going over the edge there just looks like you missed your mouth. Keep the added fullness only to the top, which creates a perfect balance for thin lips.
Liners Are Non-Negotiable for a Sharp Lipstick Transformation
If you are expecting a clean, sharp red lip, you need a matching liner. It is not a suggestion, it’s basically the entire foundation of the look. A lipstick alone, no matter how expensive, will bleed into the fine lines around your mouth within an hour, especially if you have any little wrinkles or dryness there. Liner acts as a dam, holding the color in place.
I always choose a liner that is slightly darker than the lipstick you plan to use. It doesn’t need to be a perfect match, just in the same color family. For instance, a brick red liner with a true red lipstick adds a little depth at the edges, making your lips look naturally pouty rather than flat. You’ll need a sharp pencil tip to get this crisp, defined line that defines the whole transformation.
Now, a small tangent. I don’t know why makeup brands don’t make this easier by including a sharpener in every lip liner package, but my favorite liner broke awkwardly one time and I had to use a kitchen knife, which is super dangerous and not recommended. Anyway, invest in a good sharpener, because a dull tip is the biggest enemy of a sharp lip look.
Step-By-Step: From Bare Pout to a Bold Lip Look
Let’s walk through the exact routine I followed for this look, which is perfect for any makeup beginner. Look, if you have zero experience with lipstick, this is the part to bookmark. Start with a completely bare mouth, and maybe some lip balm that you’ve let soak in for five minutes. You don’t want the balm to be slippery, just hydrated.
First, trace your lip shape. Start at the center of your upper lip, making an X for the cupid’s bow at the edge of your natural line, or just slightly above it if you’re following the overlining trick. Follow the natural curve of your lip from the center to the corners. Remember, any extra space you draw needs to be filled in, take it slow and steady. Second, fill in the whole lip with the liner. Yes, the whole thing, not just the edge. This gives the lipstick a sticky base to grip onto and makes the fade last much longer.
Third, apply the red lipstick. Go right over the liner, pressing the lipstick into the skin rather than dragging it. This packs the color on. If the lipstick doesn’t quite reach the very edge of the liner, that’s fine. The liner is your last line of defense, and the color will blend together once you do the next step. Finally, use a flat, angled brush or even your fingertip to press the lips together, then lightly diffuse the line where the lipstick meets the liner. You don’t want a harsh border between the two colors.
The First Swipe Is Always the Most Honest Moment
There is no feeling like that first swipe of a bold lip. You look in the mirror mid-application, and the color is so intense that it doesn’t even look like you yet. It looks like a costume. Then, you fill in the rest and blot, and suddenly you realize it does look like you, just the version of you that has their life together. This is the exact moment the makeup before and after becomes obvious.
I always pause for a second right after the first coat. I check to make sure the line is even on both sides, because honestly, we all have one side that’s easier to draw on. It’s usually the side matching your dominant hand. Fixing a mistake with a bit of concealer and a tiny brush is totally normal, even pro makeup artists do it. Don’t beat yourself up if you have to clean up the edges a few times.
How to Judge Your Own Bold Lip Makeup Result
Take a step back from the mirror, about a foot and a half, which is the distance people actually see you from in a conversation. So look at the overall shape. Does the lipstick look like a neat oval, or are there any areas that look like they’re spilling over? If you see any spots, take a clean fingertip and gently push the color back into the line. This is easier than wiping, which removes the pigment completely.
Also, do a quick teeth check. Pop your lips over your teeth like a monkey, and if you see red on your teeth, you’ve either pushed the lipstick too deep into the inside of your mouth, or you put the balm on too thick initially. The fix is simple: wipe the inside half of your lipstick off after applying, but nobody forgets to do that ever, so don’t worry if you end up with a red smile by accident. It happens to everyone eventually.
This whole look lasted me through a late lunch, a walk around the block, and a hot coffee without losing its edge. The color faded a little on the inside, but because the liner was so solid, the shape remained perfect. That’s the goal, you want a shape that could survive a windy day.
Three Essentials to Save This Red Lipstick Hack For Later
The number one essential is a pigment that isn’t sheer. You want a real red, not a tinted balm. A satin finish is fine, but a matte finish will stay put longer. Honestly, the exact brand doesn’t matter as much as the opacity of the color. If you can see your natural lip line showing through with one swipe, it’s not bold enough.
You also need that lipliner, which we covered. It’s the real workhorse. And the final piece is a small, concealer-tipped brush for clean-up. This little tool is what separates a messy red lip from a sharp one. I know that most people don’t have this, so a cotton swab dipped in makeup remover or micellar water works in a pinch. Whatever you do, and I cannot stress this enough, do not let the lipstick touch your actual teeth. Use the finger trick or just keep your lips closed for a second after applying to remove any excess.
If you’re trying this for the first time, give yourself a few minutes of quiet to focus. Makeup is supposed to be a little ritual, not a rushed chore. The more you practice the swipes, the steadier your hand will get. And if the first try isn’t perfect, just fix the edge with concealer and go on with your day, it usually still looks good because the color is so forgiving.
Once you get the hang of it, you might actually start looking forward to that red lipstick moment. It’s that quickest, simplest way to feel like you actually made an effort, even if you’re just heading to the grocery store. Let me know if you try this hack for your next big event, or just for a Tuesday afternoon, it works for both. Save this for your next little makeup trial and have fun with the process, not just the result. Just remember, the sharp line is your friend, and a little bit of lip liner goes a very long way.
Leave a Comment